The efficacy of Fusion Splicer is inextricably linked to the meticulous maintenance and cleanliness of your fusion Fusion Splicer. While these two aspects might seem synonymous, they each warrant distinct attention to ensure optimal performance throughout the Fusion Splicer lifespan. A well-maintained and pristine splicer is paramount for establishing robust connections and extending the life of this crucial equipment. At UCL Swift, we’ve observed that a staggering 80% of maintenance issues stem from improper cleaning practices. To keep your splicer in tip-top shape and splice with precision, consider the following guidelines:
Regular Routine Cleaning of Your All-In-One Fusion Splicer
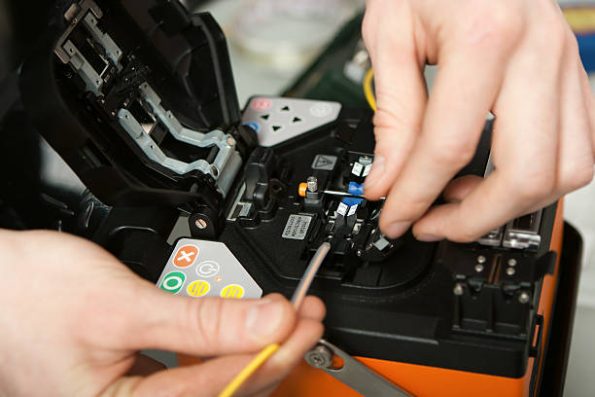
Here are the four key areas to focus on for thorough cleaning:
Clean the Stripper: When processing 900µm fiber, the tight buffer jacket and the underlying 250µm acrylate coating must be carefully stripped. The resultant debris can accumulate near the stripper stops. It is imperative to swiftly and meticulously remove this material using hand tweezers or a brush to prevent it from interfering with the alignment system, fusion chamber, or sleeve heater oven. Once debris becomes lodged in these sensitive areas, it can be challenging to detect and even harder to remove, potentially causing long-term damage due to heat-induced melting.
Clean the Cleaver: Achieving precise cleave angles is fundamental to successful Fusion Splicer outcomes. A dirty cleaver can transfer dust to the fiber end face, leading to significant Fusion Splicer loss. Ensure that all five pads of the cleaver—three on the base and two on the door—are free from debris and discarded glass particles. For the cleaver door, confirm that the central plunger operates smoothly. If equipped with a chip bin, make it a daily routine to empty it, safely disposing of shards to prevent injury.
Clean the Fusion Chamber Lenses: Inside the Fusion Splicer chamber, lenses are located just beneath the top and bottom electrodes. To clean these, remove an electrode to create space for a lint-free, fiber-optic-grade cleaning stick. Gently clean the surfaces of both lenses in a circular motion, alternating between clockwise and counterclockwise directions.
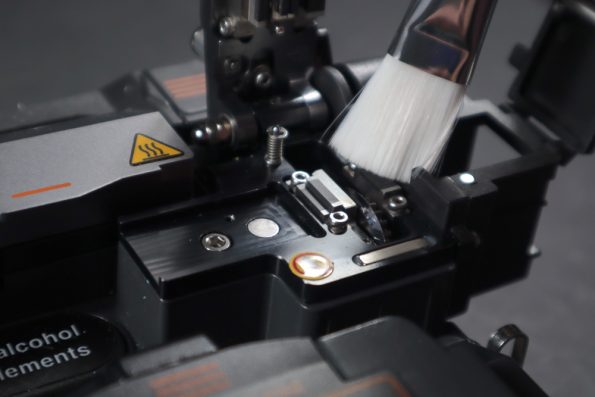
Clean Your Ceramic V-Grooves: The fusion chamber houses “V-Grooves,” which cradle the fiber ends between two electrodes that facilitate the fusion process. Despite prior cleaning, fibers can still introduce dust or debris into the chamber. The goal is to eliminate all debris from the V-Groove channels using a stiff-bristled brush with a left-to-right sweeping motion. Inspect the grooves closely with a 10x or higher magnification jeweler’s loop to identify and remove small, white flake debris. Perform this function daily; neglecting it can lead to high attenuation and alignment issues.
Register Your Fusion Splicer with the Manufacturer
Ensure that your Fusion Splicer is registered with the manufacturer to validate any maintenance agreements that come with your equipment. At UCL Swift, our Fusion Splicer include a standard three-year maintenance contract, contingent upon registration. To register your Fusion Splicer, please follow the provided link.
Schedule Annual Maintenance
Plan for annual maintenance to supplement routine cleaning and ensure that your Fusion Splicer continues to operate at peak performance. In summary, diligent maintenance and proper care of your fusion splicer are essential for extending its operational life and ensuring that your connections meet the highest standards. Your Fusion Splicer is one of the most hardworking tools on your job site—right beside you!